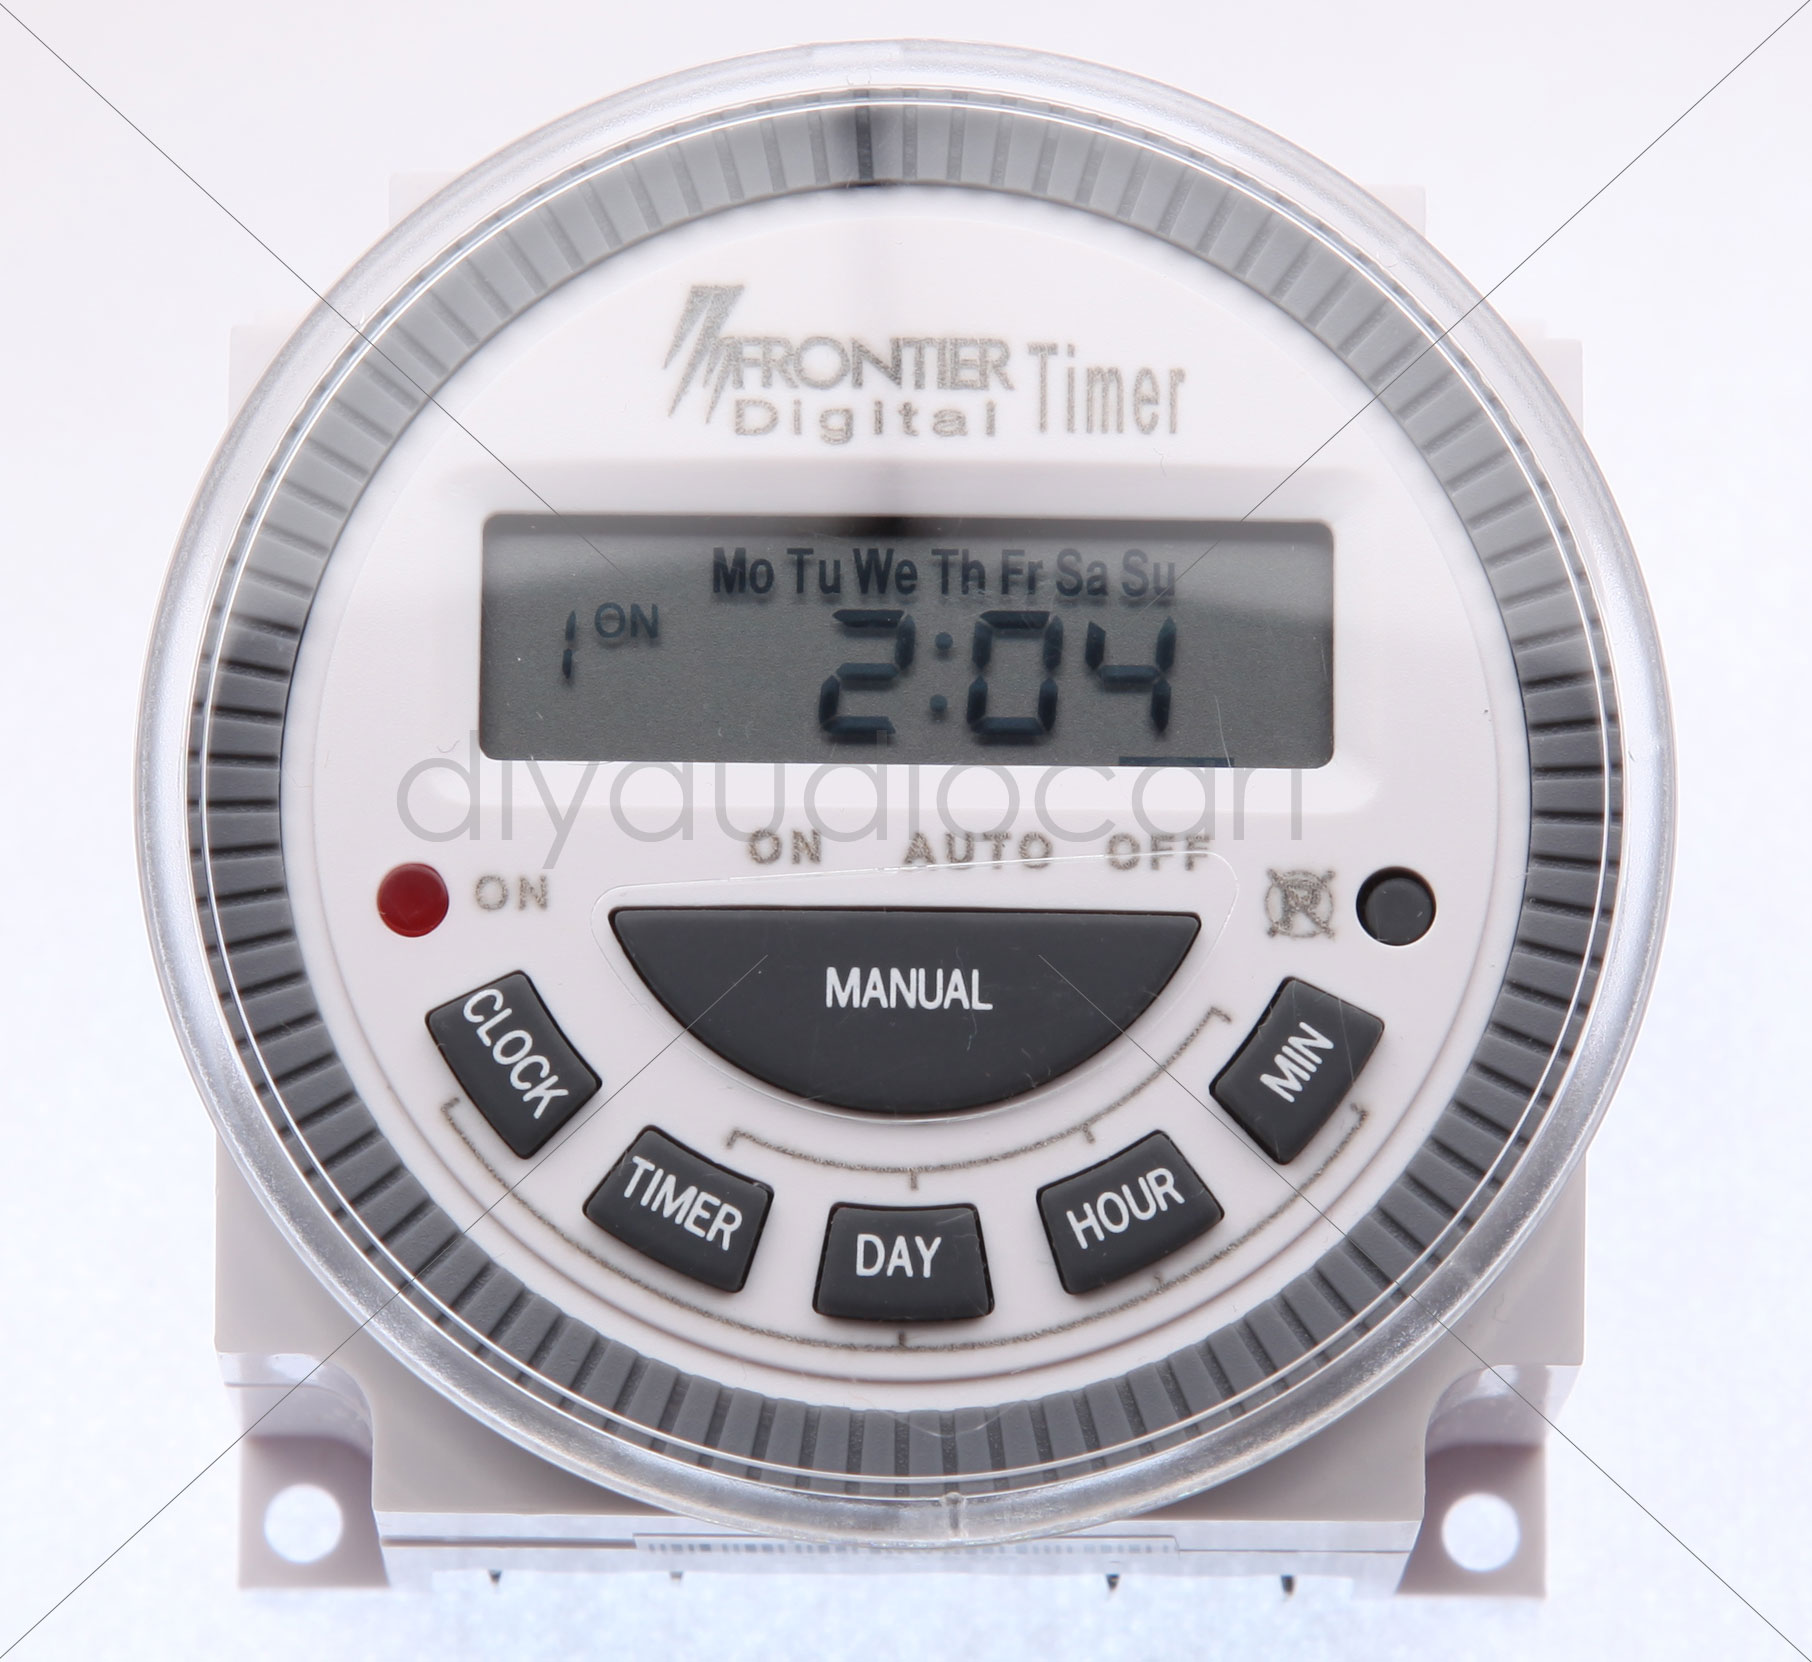
Programmable Digital Timer – Frontier
$ 9.86
specification:Digital ProgrammableDaily, Weekly TimerMultipurpose Product Description :1) 8 ON/OFF program per day2) Power:DC 12V 24V AC110-240V3) CR2032 Battery for memory back Timers are used whenever electrical equipment must be periodically switched on and off at preprogrammed daily or weekly times. The programmed events are then repeated during the next periods accordingly. They find broad application in heating and refrigerating systems, boilers, ovens, dryers, defrosting equipment, swimming pools, hatcheries, illumination, etc. Features: * Digital Electronics time switch with daily and weekly programs* LED power indicator* LCD on screen displays ON and OFF switching status* With lithium battery for memory back up* With daily weekly and impulse programs* The impulse program can also be combined with daily and weekly programs* With operation manual Supply Voltage: 200-250VAC Frequency: 50 ~ 60Hz Contact: Single Pole – Single Throw, 30 A, 250 V AC Running Accuracy: ± 1 second / day at 20 degree C Minimum Time Setting – 1 minute Load – Resistive 16A, Inductive 8A, Motor 2HP Memory Back up – Lithium battery CR2032 The following instructions will help you program this timer: BUTTON DEFINITION : Clock: Current time setting or show current time.Timer: Press this button to enter program mode. There are 8 on / 8 off programs lines.Day: Sets the day of the week.Hour: Sets the hour button. 24 HOUR MILITARY TIMEMin: Set the minute button.Manual: ON/AUTO/OFF select mode.RESET Cancel all settings. It is the recessed buttonnext to the circled P with a X through it.Use ballpoint pen to push it.ON: RED LED indicator lamp . LED light on when theinternal switch is turned on. I: SET CURRENT TIME AND DAY1. Press CLOCK and DAY buttons together. Pulse the DAY Button to advance to current day.2. Press CLOCK and HOUR buttons together. Pulse the HOUR button to advance to current Hour.3. Press CLOCK and MIN buttons together. Pulse the MIN button to advance to current time.4. After setting the day and time, the seconds willautomatically reset. II: SET PROGRAMS1. Press TIMER button once "1ON" will appear at the left side of display. This is the "1" program that you desire the device to turn on.2. Press DAY button to select the program period.3. Press HOUR button to set hour. Press MIN button to set minute. 5. After setting the "1ON" program. then press TIMER button again "1OFF" will appear. this is the "1"program that you desire the device to turn off. 6. Repeat the same procedure until "1OFF" program is set.7. Your timer gives you up to 8 different ON and 8different OFF per program period. You can use all 8settings per period, or as few as required. III: REVIEW SET PROGRAMS1. Pulse TIMER button to advance displayed to eachsubsequent ON or OFF settings.2. To make changes follow instructions under " SETPROGRAMS".3. Push CLOCK button to return to current time dispay. IV: MANUAL OVERRIDE BUTTON1. Pulse MANUAL button to select ON/AUTO/OFFmode.2. ON mode turns on the device and it will stay on until manually turned to OFF or AUTO. OFF mode turns off the device. and it will stay OFF until manually turned to ONor AUTO.( YOU CAN USE THIS TO TURN ON THE GENERATOR)3. In AUTO mode. It will turn ON or turn OFF according to the programs for which the timer is set.4. MANUAL OVERRIDE FEATURE: Turn device ONif already OFF or OFF if already ON. Timerautomatically resumes program on next programnedcycle. (From ON to AUTO mode, it will stay on until the next programmed OFF timeam). (From OFF to AUTO mode, it will stay OFF until next programmed ON time) CAUTION:1. Installation must be according to wire diagram. See the back of the unit.2. Press RESET button before use.3. Recharge the battery when no indication appears in the display.
People also like
-

Diwali Terracotta Treasures – Pair of 2 Wick CandlesAdd to cart -

Limited Edition – Elite 6 Wick Hand Carved Dough Soy CandleAdd to cart -

Exclusive Diwali Gift – 6 Wick Terracotta CandleSelect options This product has multiple variants. The options may be chosen on the product page
